

Host a Hive turned Beekeeper

We recently celebrated National Pollinator Week and that got me thinking about how and why I got started with my own beehive. My name is Mary, or MurHodge, and I am an amateur beekeeper who is going to share all my beekeeping adventures with all of you!
My curiosity about beekeeping began about 8 years ago when my cousin in Michigan began her beekeeping journey. I watched her from afar getting familiar with the idea of having bees in my own backyard and tapping into her frustrations over swarming and hive loss Winter after Winter. I often weighed the pros and cons of having a colony of bees but was still uneasy about the idea. Then I met Cory Gaiser.

“The beginning beekeeping class offered by The Gaiser Bee Co. is an up close, hands-on look at what it takes to set up a hive and ensure it is thriving through at least one’s first bee season.”
Cory & Krystle Gaiser are a husband and wife beekeeping team running an apiary on the west side of Cincinnati, Oh. With such a valuable resource in my backyard, my confidence in the idea was building. I decided to Host-a-Hive with The Gaiser Bee Company back in 2019 and I gifted it to my teenage daughters for Christmas the season before. If you have teenagers you can imagine their reaction…they were kind, but clearly not interested in the idea of giving up an entire, precious, Saturday to sit through a beekeeping class which was part of the package. So instead, I grabbed my bestie and we spent a day learning about bees with Cory.
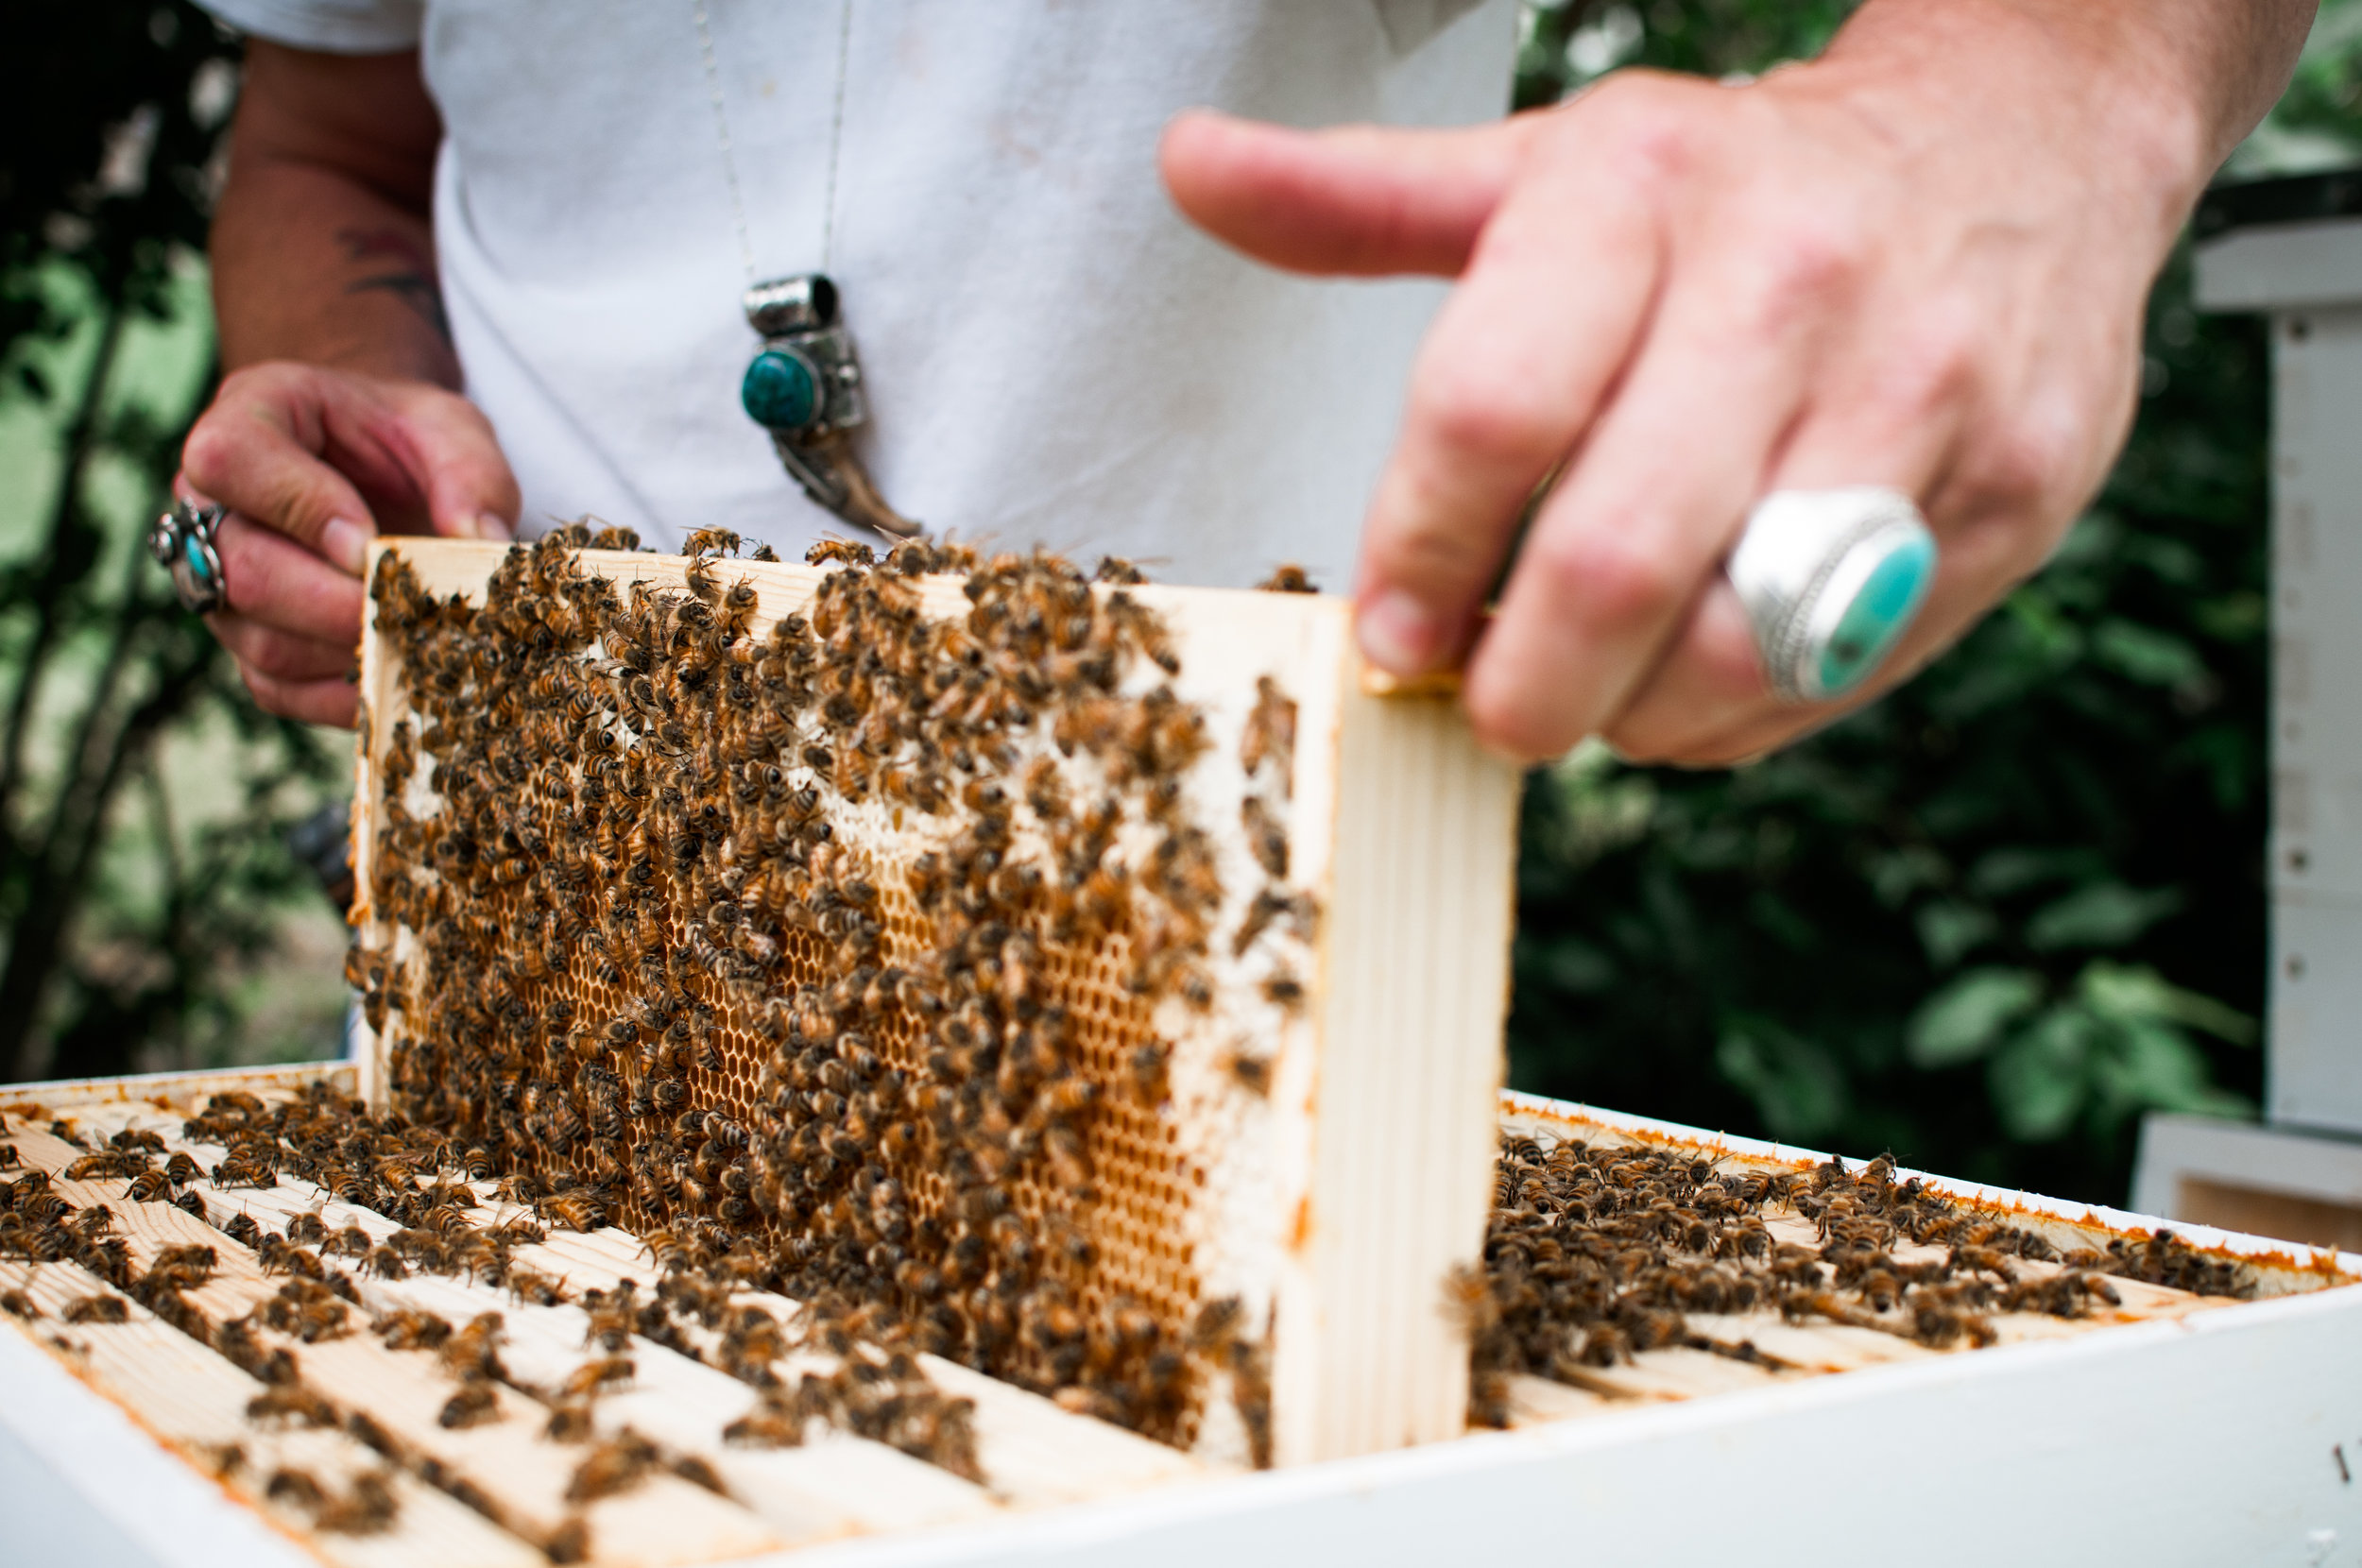
The beginning beekeeping class offered by The Gaiser Bee Co. is an up close, hands-on look at what it takes to set up a hive and ensure it is thriving through at least one’s first bee season. We also learned so much about the fascinating life of these insects – their anatomy, their purpose in the colony, why we need a Queen – by the end of the day I was convinced that I was almost sure I wanted to be a beekeeper. Later that summer, I had the opportunity to do hive checks at The Gaiser Bee Co. and that’s when I fell in love with honeybees. That’s it. I’m in.
“This class is what gave me the confidence to start my own hive at home which is my current favorite adventure.”
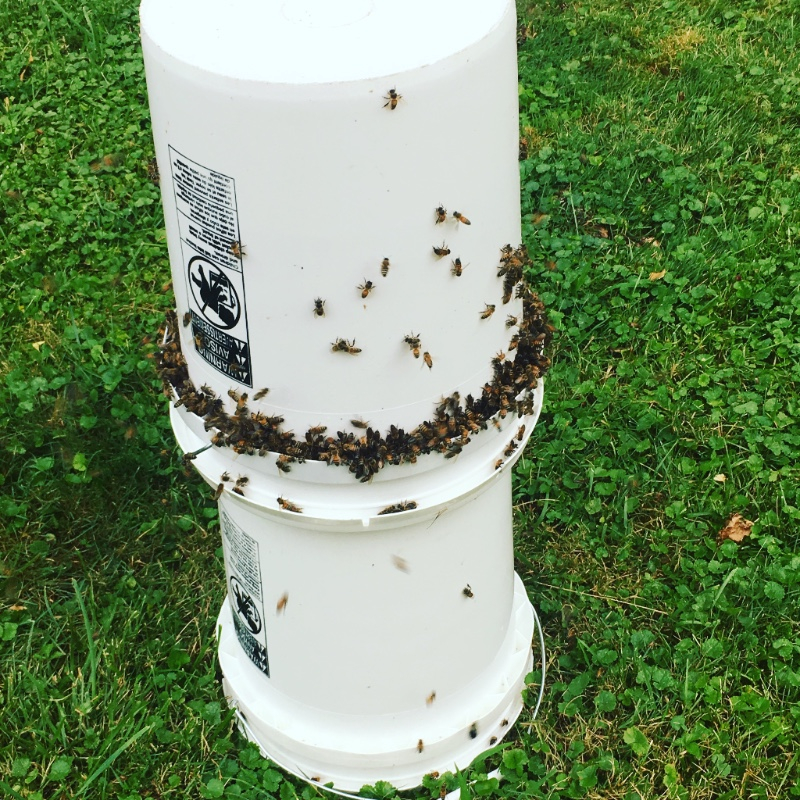
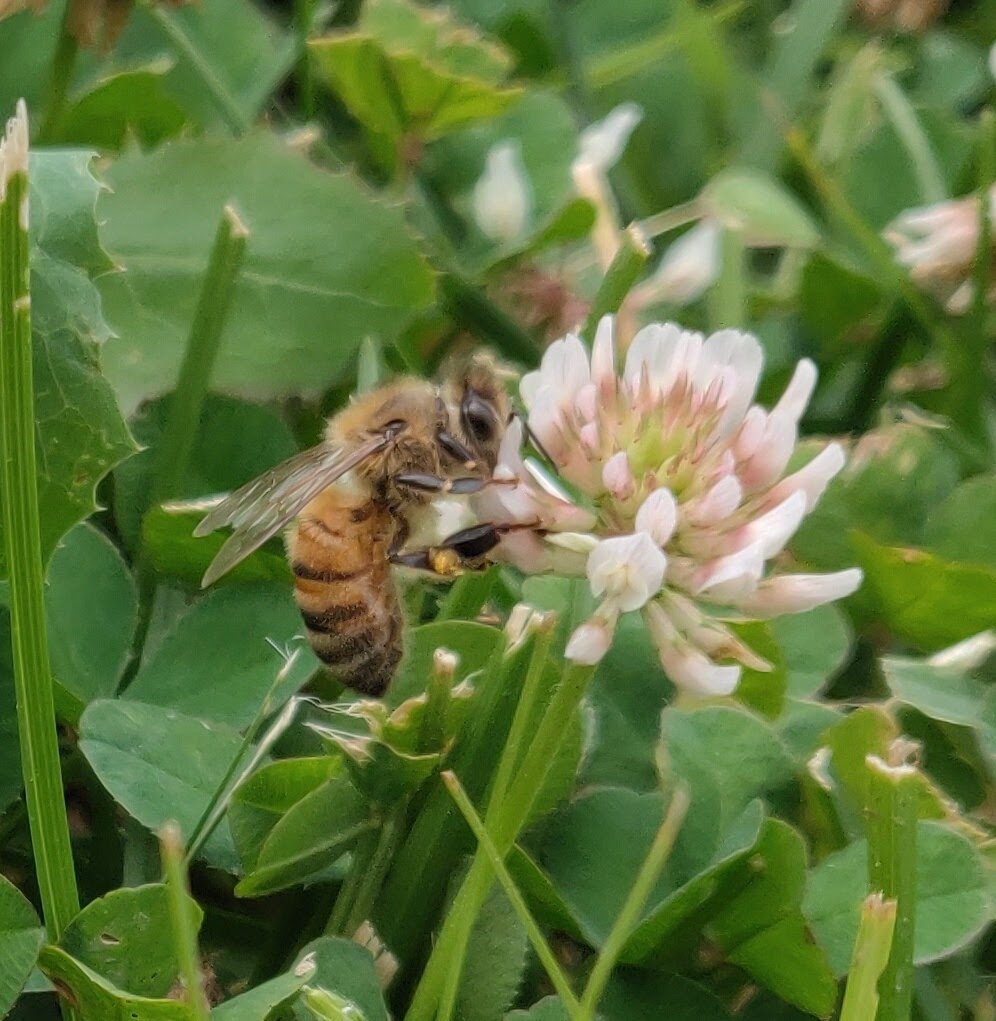
Fast forward to 2020, here I am with one thriving colony of honeybees. I’m in love with them and in love with watching them. I spend so much time in my backyard watching them come and go from the hive, working with purpose, building their home and I’m learning so much about their behavior and demeanor. How are honeybees like ants? What the heck is a pollen bag? Can bees swim? I hope you’ll tune in here to find out!
While The Gaiser Bee Co. no longer offers the Host-a-Hive program, they still offer their annual beekeeping class. This class is what gave me the confidence to start my own hive at home which is my current favorite adventure. Follow along with me as I explore the captivating world of the honeybee and all the wonderful things about backyard beekeeping. Welcome to Mur’s Cozy Colony.